801-613-2759 sale@jfitzelectrical.com

Top 10 Electrical Troubleshooting Tips for Global Buyers?

Global buyers often face electrical faults that look simple but hide serious risks. A motor may hum without starting. A control panel may show power while a loose terminal quietly heats behind the cover. These details make electrical troubleshooting tips valuable during purchasing, installation, and after-sales support.

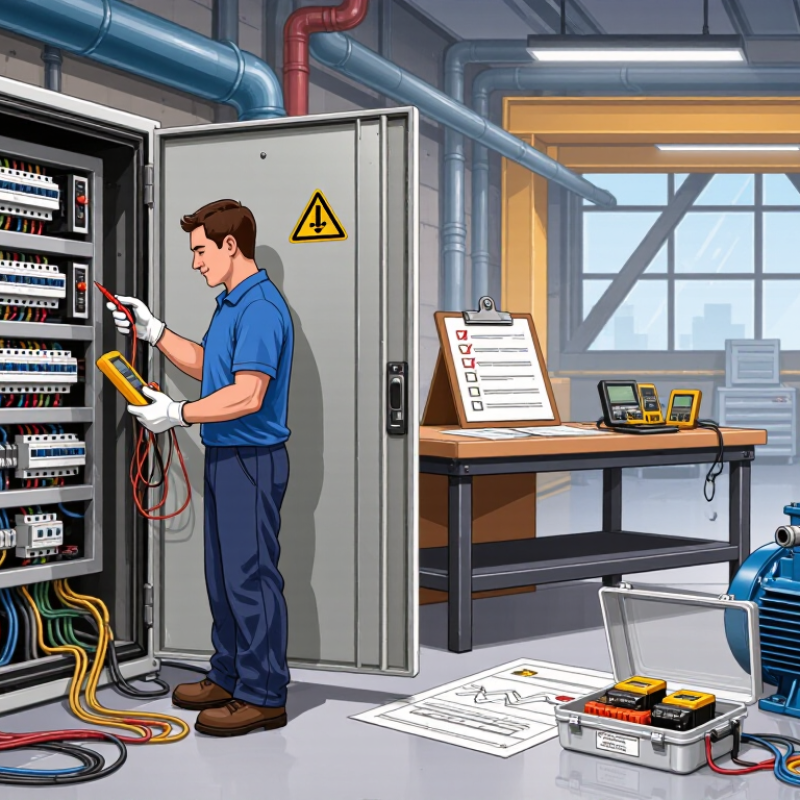
Mike Holt, a respected electrical instructor and training authority, expresses the right mindset clearly: “Safety is not expensive; it is priceless.” His advice fits international equipment sourcing. A buyer should verify voltage, frequency, phase configuration, protection devices, wiring diagrams, and certification requirements before testing a product. Small differences can damage equipment or create unsafe conditions. Always isolate power before opening an enclosure. Use a properly rated meter, insulated tools, and documented test procedures. Never rely on appearance alone.

This guide presents practical electrical troubleshooting tips for global buyers, including visual inspection, continuity testing, overload checks, grounding verification, and communication with suppliers. It also explains when a fault may come from installation rather than manufacturing. That distinction matters for warranty decisions. Keep photos, test readings, serial numbers, and environmental details, such as moisture or heat exposure. Clear evidence improves technical support.

No checklist catches every fault. Real systems can behave unpredictably. A rushed diagnosis may point to the wrong component. Buyers should pause, question assumptions, and involve a licensed electrician when measurements become uncertain. Local codes and qualified professionals remain essential, because a general guide cannot replace site-specific expertise.
Top 10 Electrical Troubleshooting Tips for Global Buyers?

Electrical Troubleshooting Fundamentals for Global Buyers

Electrical Troubleshooting Fundamentals for Global Buyers

Electrical troubleshooting begins before installation.

Confirm the equipment’s rated voltage, frequency, phase, and power demand. Specifications can look similar across markets. They are not always interchangeable. Check the wiring diagram, terminal labels, supplied accessories, and installation conditions. Keep the original documents nearby. Missing details create expensive guesses.

Start with safety: isolate power, verify zero voltage, and use properly rated test instruments.

Inspect cables for cuts, crushed insulation, loose terminals, moisture, or unusual heat. Then check polarity, grounding continuity, fuse ratings, and overload protection. A simple visual inspection often reveals the fault. Do not rely on appearance alone. Measure voltage at the source and again at the load. Compare readings with the equipment’s approved range.

Global buyers should record the fault, test location, instrument setting, and measured value.

Photos of terminals can prevent confusion between remote teams. Ask whether the problem appeared during startup, under load, or after transport. Vibration may loosen connections. Condensation may damage insulation. Incorrect adapters can create unstable operation. A qualified technician should handle live testing and internal repairs according to local requirements. One practical weakness remains: troubleshooting guides cannot predict every site condition. I have seen careful teams overlook a loose neutral because the main voltage looked normal. Recheck assumptions, especially when readings seem almost correct. Keep replacement parts compatible with the original electrical ratings, not merely similar in shape.

Safety Checks Before Testing Electrical Equipment

Before testing electrical equipment, stop and assess the work area. Remove water, metal scraps, and loose cables near the test point. A dry floor is not enough. Check lighting, ventilation, and access to an emergency shutoff. Wear protection suitable for the voltage and task, including insulated gloves, eye protection, and nonconductive footwear.

Isolate the equipment whenever possible. Disconnect every energy source, including batteries, control circuits, and stored energy in capacitors. Apply a lockout procedure, then verify the circuit is de-energized with a properly rated meter. Test the meter on a known live source before and after checking the equipment. Never trust a silent machine. I have learned that a clean-looking cabinet proves very little.

Global buyers should inspect insulation, grounding connections, labels, and the equipment’s voltage and frequency requirements. Do not rely on wire colors alone; conventions differ between countries. Review the supplier’s test records and installation instructions with a qualified technician. If documents are unclear, pause the test. That delay may feel inefficient, but guessing can damage equipment or injure people. A checklist helps, yet rushed workers can still miss one small terminal. Record unusual smells, heat marks, cracked insulation, or unstable readings before continuing.

A Step-by-Step Process for Identifying Electrical Faults

Electrical troubleshooting begins with safety, not guesswork. Disconnect the circuit and verify zero voltage with a properly rated tester. Wear suitable protective equipment and follow local electrical procedures. Start safely. Check the supply voltage, frequency, and grounding arrangement against the equipment documentation. Global buyers should confirm these details before installation, because an incorrect match can create repeated faults.

Look, listen, smell. Burn marks, loose terminals, unusual noise, or heat often reveal the first clue. Inspect cables, connectors, fuses, switches, and protective devices without touching exposed conductors. Record each finding with photographs, measured values, and the test location. Then isolate the fault by testing one section at a time. Compare readings with the manufacturer’s technical limits, not with assumptions from another system.

Resetting a protective device may restore operation, but it does not prove the problem is solved. Check for overloads, insulation damage, poor connections, and moisture. Replace damaged parts only with correctly rated alternatives. I have seen troubleshooting fail because technicians changed several components together. That removes useful evidence. Do not guess. If readings conflict, stop and review the test method, meter condition, and wiring diagram. A qualified electrician should assess uncertain or recurring faults, especially where high energy levels are present. Keep a clear service record for future inspection and supplier communication.

Voltage, Frequency, Wiring, and Compatibility Verification

Electrical troubleshooting begins with the rating plate, not the power socket. Check the required voltage, frequency, phase, and current before connecting any equipment. A device marked 220–240 V may fail on a 110 V supply. Frequency also matters. A motor designed for 60 Hz can run hot or lose speed on 50 Hz power. That difference is easy to overlook.

Use a calibrated multimeter to measure the outlet under normal load. Do not trust a wall label alone. Confirm live, neutral, and protective earth wiring with a qualified electrician. Wire colors vary between countries, so color matching is not reliable. Inspect terminals for loose copper, damaged insulation, or heat marks. Small faults often leave visible clues. I have seen compatibility checks stop at voltage, which is an incomplete habit.

Review the plug shape, socket type, grounding method, cable size, and circuit protection. An adapter may change the shape but cannot correct unsuitable voltage or frequency. Check whether the equipment accepts a single-phase or three-phase supply. Imported control systems may also require a specific signal standard. Compare every value with the installation manual and local electrical requirements. When readings seem unstable, test at another circuit and record the results. My own first check is not always the best check, so a second measurement can prevent an expensive mistake.

Documentation, Supplier Support, and Preventive Troubleshooting Practices

Top 10 Electrical Troubleshooting Tips for Global Buyers

Clear documentation is the first practical safeguard when buying electrical equipment internationally. Request wiring diagrams, terminal layouts, rated voltage, frequency, load limits, and test procedures. Keep the latest revision in a shared folder. A faded label or missing revision number can delay diagnosis for hours. Keep it visible.

Ask suppliers to explain normal readings, alarm codes, and safe isolation steps before shipment. Support should include response times, qualified technical contacts, and simple methods for sharing photos or measurement data. Confirm whether remote guidance covers installation, commissioning, and replacement parts. Vague support promises create expensive uncertainty. Small gaps matter.

Preventive troubleshooting starts before the equipment reaches your site. Check incoming voltage, grounding arrangements, enclosure condition, cable routing, and ventilation during installation. Record baseline readings while the system operates normally. Compare future measurements against this record, not guesswork. I once treated an intermittent fault as a component failure; a loose connection was responsible. That mistake changed our inspection checklist. However, checklists are not perfect, and technicians may skip them during urgent repairs.

Use insulated tools, appropriate protective equipment, and competent personnel for every inspection. Never bypass protective devices to keep production running. Schedule thermal checks, torque inspections, cleaning, and functional tests according to operating conditions. Store troubleshooting records with dates, photographs, measurements, and corrective actions. Reliable suppliers welcome precise evidence because it shortens discussions and reduces repeated failures.